

In case you have not noticed Christmas is approaching at record speeds this year! Traditionally we put up the tree the day after Thanksgiving and this year is no exception! We have spent 5 Christmas' together now and our tree is not exactly showing it! I don't have enough ornaments to decorate the back and I refuse to spend any more money on ugly balls to fill the spaces! Classy I know!
This year to try and save money, add a personal touch, and most importantly keep my 3yo busy I decided homemade ornaments were the way to go!!!! Some of my favorite ornaments from growing up are the ones that were made by me or my great grandmother! My great grandmother made for my mom ornaments out of egg shells and they are so beautiful! I love pulling an ornament out of the box to hang on the tree and all these sweet memories come flooding in. Trimming the tree becomes this precious time of recalling the past.
Since I do not have a creative bone in my body I turned to Pinterest and searched for ideas. I ran across a pin for Salt Dough and thought this would be great opportunity to create new memories with my favorite toddler that she can pull up each Christmas! (Side note a 3yo has a hard time understanding that these are not cookies to be eaten had many hard conversations with her about that one) So recently we spent the morning making memories! I decided to show you through pictures how easy and fun these ornaments are to make.
Ingredients:
1/2 c. Salt
1 c. Flour
1/2 c. Water
Bake in 250 degree oven for 2 hours (Should be hard all the way through)
Combine salt, water, and flour and stir.
This is the perfect dough for Lindsey to stir up as it is not too heavy!

Knead the dough a few times and the flour you surface and rolling pin and roll out to 1/4 in thickness.

Lil miss EC loved watching Linds roll out the dough! I happened to have a ruler out so Linds made me measure every time we rolled out the dough!


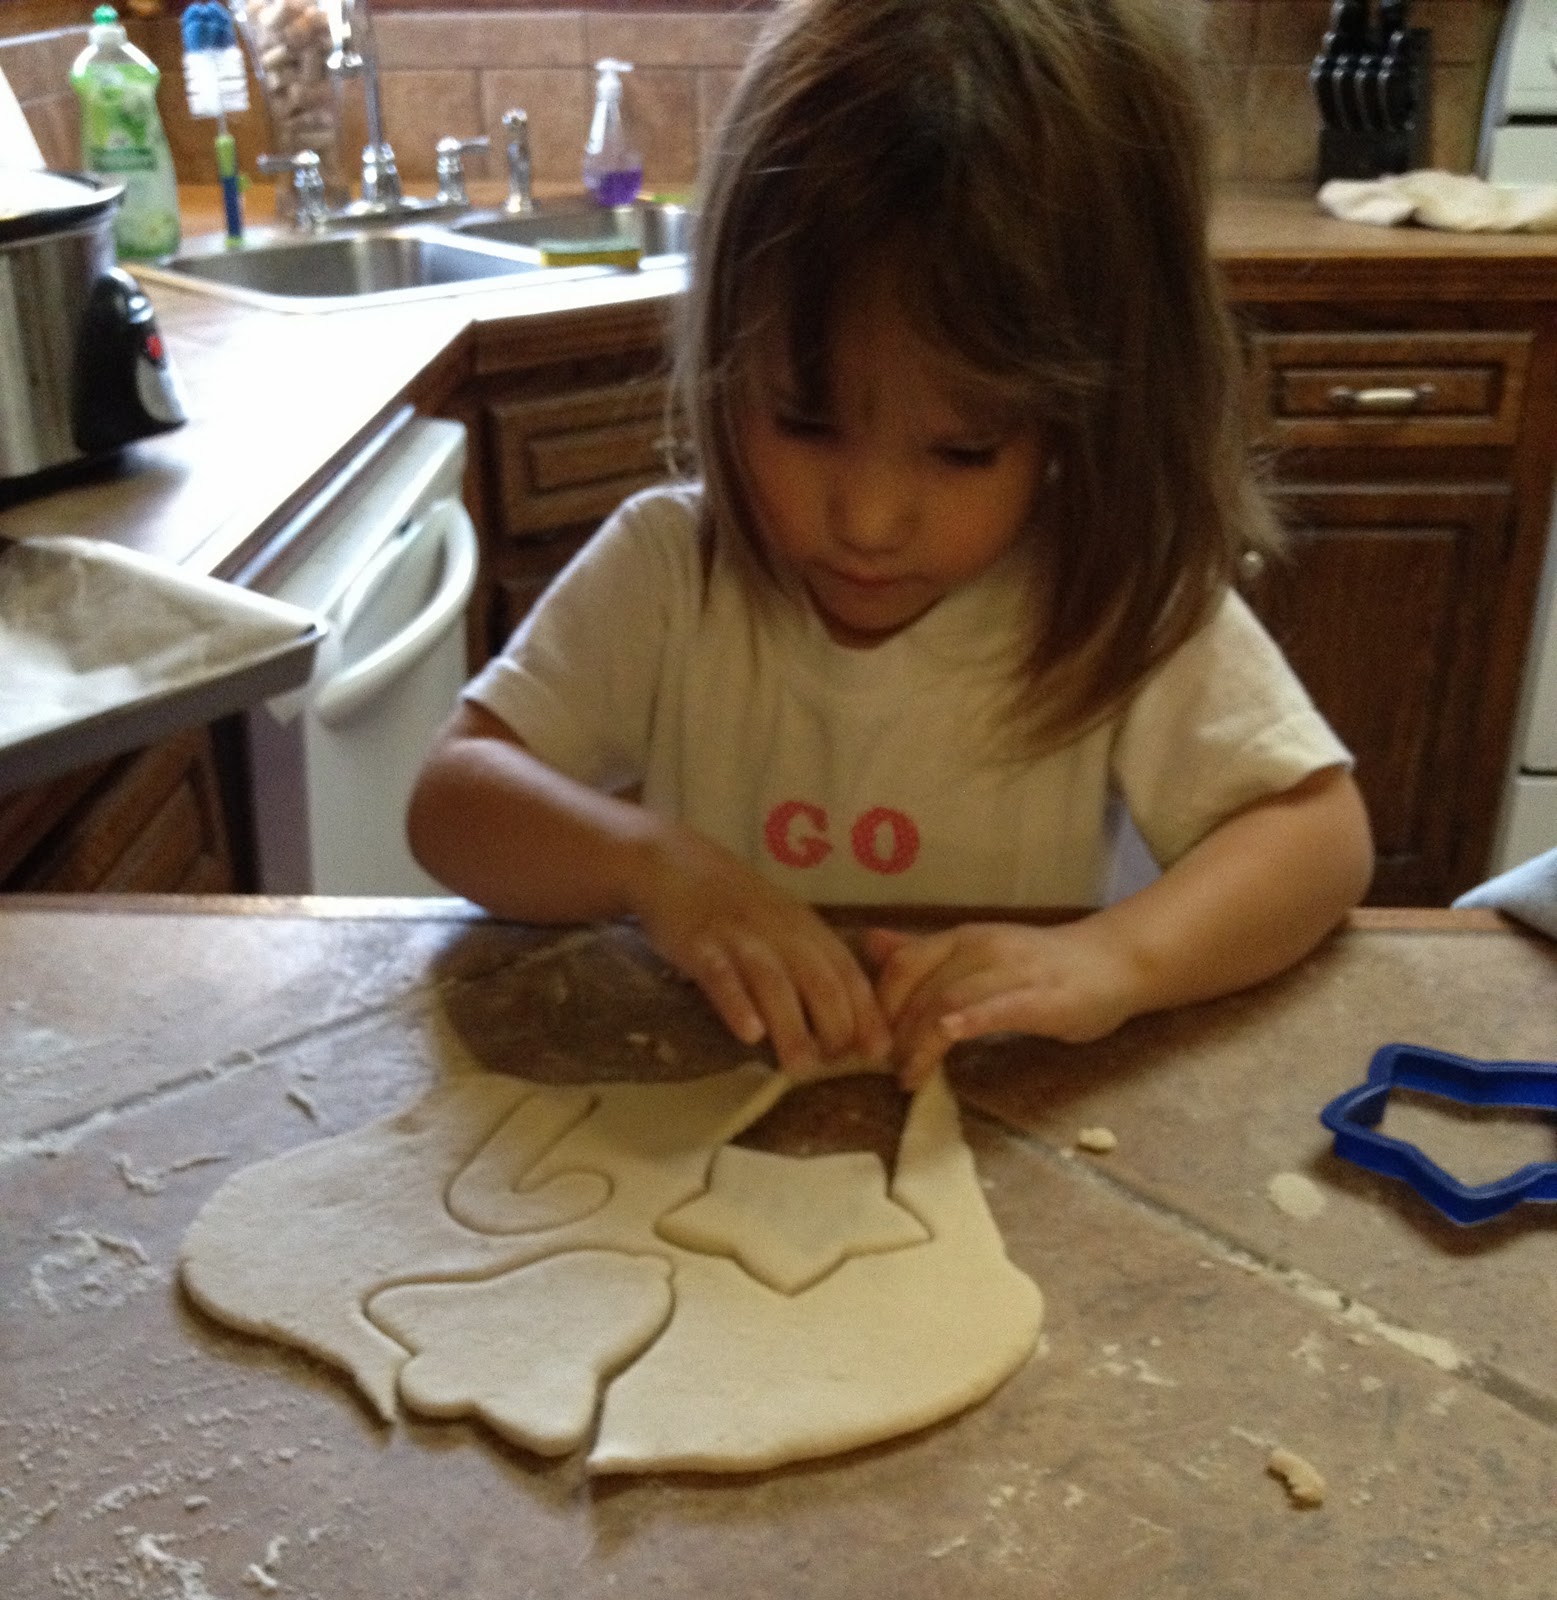
Once the dough is rolled out cut with cookie cutters and placed on a parchment lined cookie sheet. (to reinforce colors I had Linds sort all the cookie cutters by color while I fed EC)
Make sure that your dough surface is smooth and even as those cracks will show in the final product.

Once the cutout is placed on the cookie sheet poke a large whole at the top for ribbon when done. A straw works great.

Once you pull your ornaments out of the oven let them cool and then decorate! We used homemade glitter made from food coloring and salt (tutorial coming soon) and then coated them in modge podge and glitter. You could paint with acrylic paint or dye the dough before you cut them out. There are so many ways!!!!

Umm love plastic wrap and duck tape mats. I can throw away the mess at the end of the project!

Once dry I would coat with some form of spray on clear coat to protect the glitter for a long lasting ornament.
Tie a ribbon on the end an you are ready to go! I do not recommend curling ribbon but it was what I had on hand at the time.


1 comment:
You are such a good mom! Your girls are so blessed to have you! I have ornaments that Grandma Kumpe, Grandma Moody, and uncle Jim's second wife Vicki made - I will share with you. What also makes wonderful memories is to buy an ornament when you travel and every time you get it out you remember what a wonderful time you had and the wonderful people you shared it with. Love you.
Post a Comment